
Transactional emails
Send beautifully designed emails with dynamic data as part of your features' workflows
The transactional email helper lets you send you send emails as part of your workflow. Email content is based on a template that you can insert dynamic values into.
On upgraded plans, you can send emails from your own address and remove Ply branding, giving your customers a consistent, on-brand experience.
Adding and setting up an email step
There are three main parts to setting up a step.
1. Set sender and recipient details
Set the sender address in the fields Sending domain and From.
The default sending address is noreply@ply-mail.com. Sending from this address is available on all plans. See below on how to send from your own domain.
Set the recipient(s) in the field To. Separate multiple addresses with commas.
Set the sender name in the field From.
When sending from noreply@ply-mail.com, you must select a reply-to address where you'll receive responses from your customers. An admin from your workspace must enter a verified email address in the workspace settings.
2. Choose a template
You can start by copying one of the templates from our gallery or from scratch.
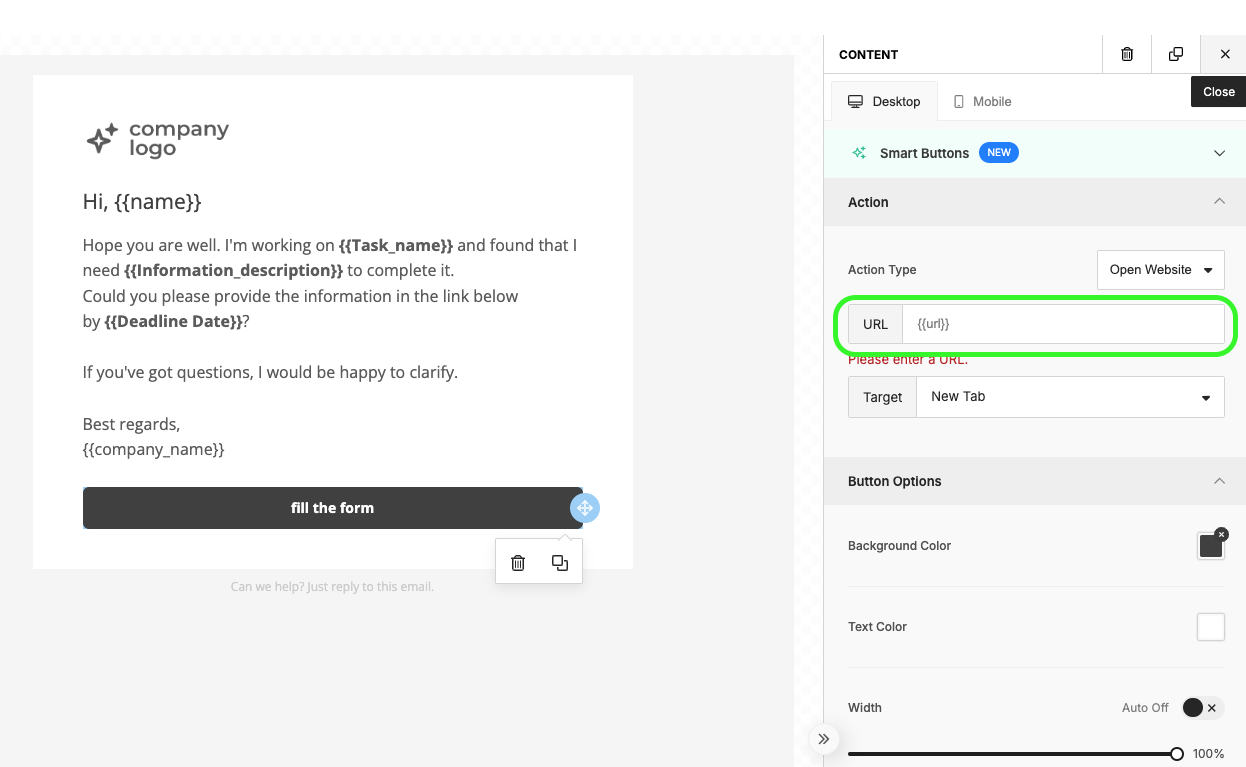
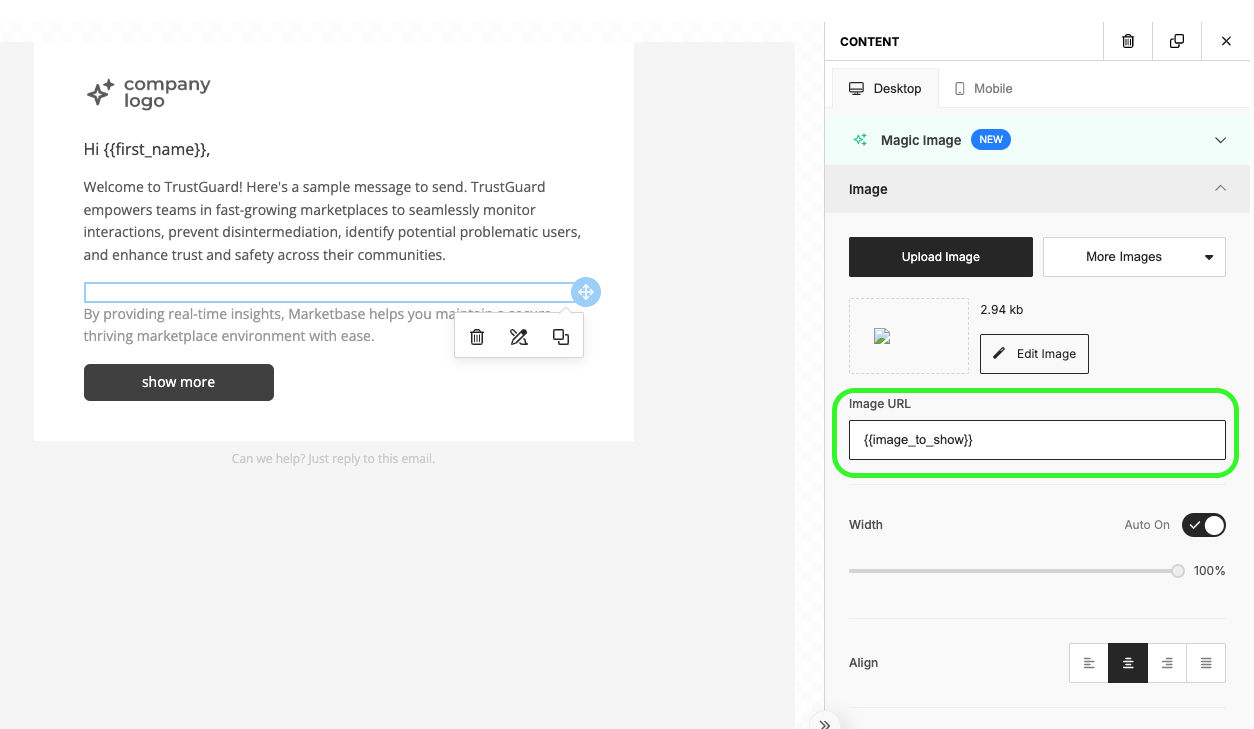
Wrap any part of the template in double curly brackets {{like_this}} to make it a mappable, dynamic value.
This includes URLs. For example, this button's URL can be mapped from a previous step in the workflow:
It also includes images. This image URL can be mapped from a previous step:
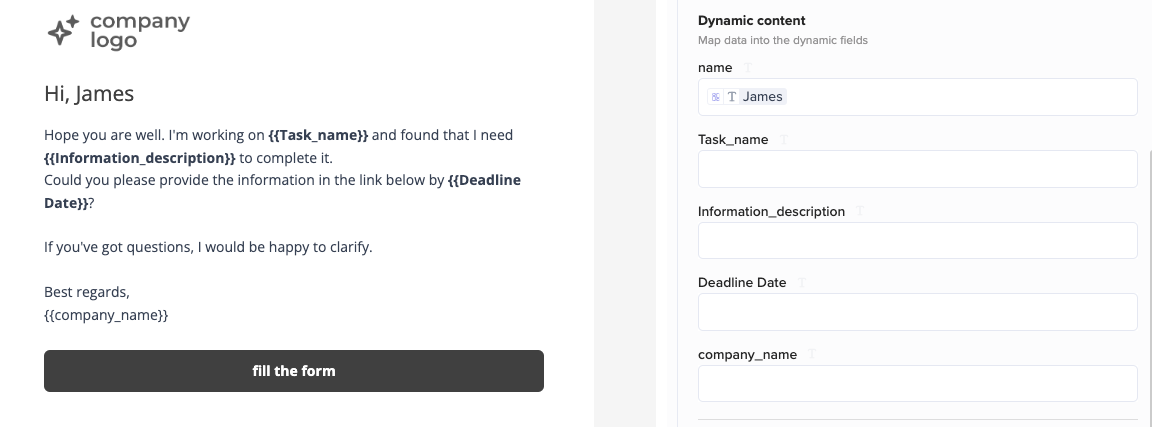
3. Map dynamic content into template
Once you save the template to be used, any values wrapped in {{ }} will become mappable fields in the email step setup. You can then type of map values in these fields:
Add a custom sending domain
To send emails from your own email address, you need to add a custom sending domain in your workspace settings. This process can only be done by an admin.
Go to Settings > Email domains and click "Add a new domain"
Enter your domain name
Update your DNS settings through your domain registrar or DNS provider with the details provided. See instructions below.
Updating DNS settings
Log in to the DNS provider where you manage the settings for the domain (GoDaddy, Namecheap, Cloudflare, etc.).
You'll need to add two records to the domain. Most of the details will be provided to you in the pop-up immediately after you enter your domain name.
TXT
Provided in Ply domain settings pop-up
Provided in Ply domain settings pop-up
CNAME
pm-bounces
pm.mtasv.net
Once you've added both records, save the changes. It may take up to 24 hours for the DNS changes to propagate fully, although it often happens within a few minutes.
Feel free to reach out to team@ply.io with any questions.
Last updated